Widgets
UI Elements
General considerations
MipFly One has a dynamic system of displaying different graphical and numerical widgets on the screen. A practically infinite number of pages can be defined to hold any number of widgets.
Because of the way the dynamic UI is implemented only one widget of a certain type can be displayed at once on a page.
User Interface builder
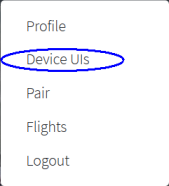
On Mipfly.com site by accessing your area (after registration), the entry "Device Uls" is available under your User name
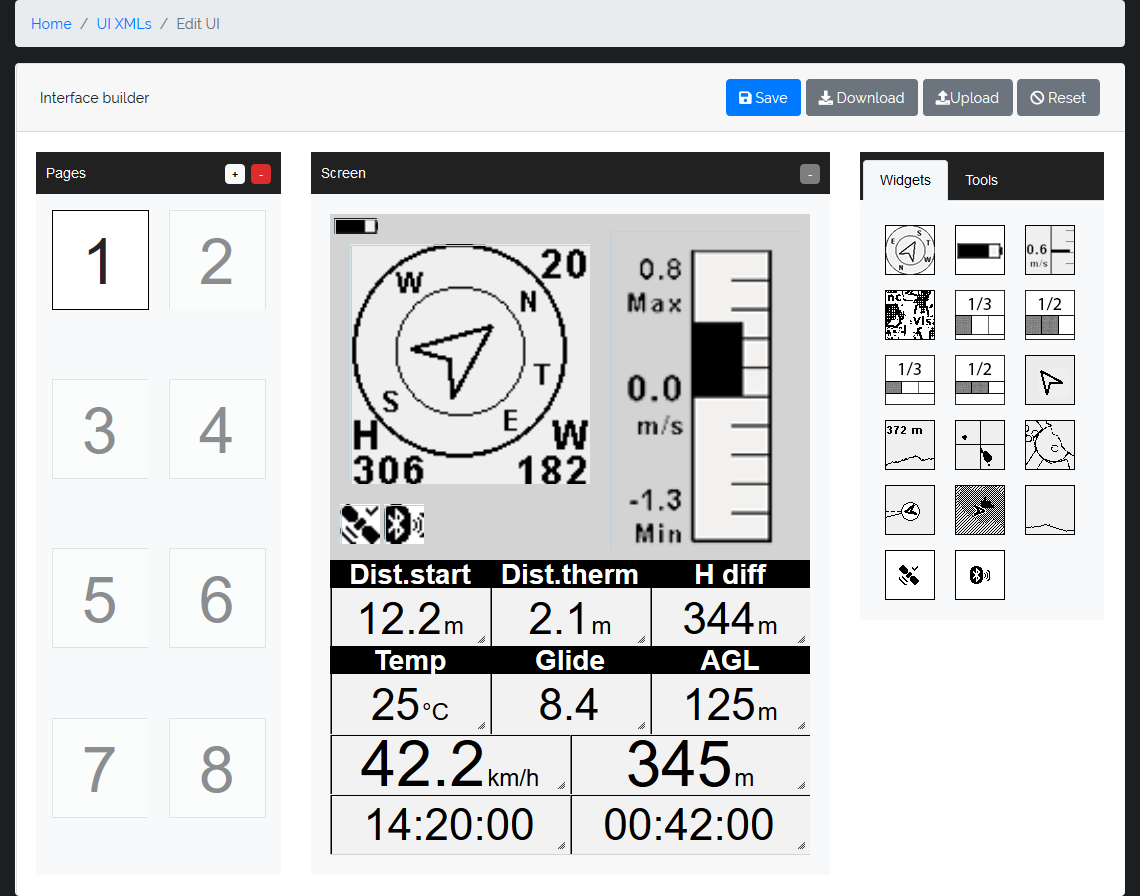
You access the following window where you can start from the default pages (New from deafult UI) or from a blank page (New Empty UI) to create your own pages at will and in the desired number

You can save your personalization in the cloud, download it to your PC or upload it from your PC. Cloud saves can be downloaded directly from the Mipfly if connected to the internet.
Numeric / text widgets
These widgets are used to display different data (speed, height, average climb, glide etc.) in text format. They can be displayed as simple labels, like border boxes or as caption boxes. If a unit is defined for the widget than it will be displayed to the right of the box.
A few examples of numeric / text widgets can be seen in Fig 1.
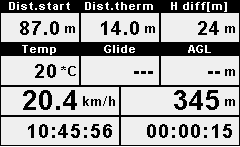
Fig. 1 A collection of different text widgets
Compass
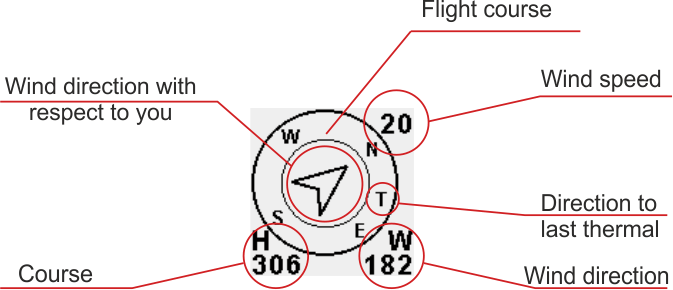
Fig. 2 Compass elements
This widget is used to display different angular data + wind speed. The course at which you are flying at a certain moment is displayed as the top letter on the outer circle (NW-ish direction in the example picture). Please note that this is the course over ground, so a working GPS Fix has to be established.
Your course over ground is also displayed beneath the H in degrees, on the left side underneath the outer circle.
A T letter on the circle represents the direction to the last thermal, as determined by the last thermal algorithm. In the example picture, the last thermal is about 100 degrees to the right of the pilot.
Please note that the arrow inside the inner circle represents the wind direction - Do not mistake this is the direction you are flying in respect to the 4 cardinal points. This arrow shows the wind direction and it will be always represented with respect to your course. If the arrow is pointing up, then you have the wind in your back, if it is pointing down than the wind is from your front.
On the bottom right position of the outer circle, underneath the letter W the wind direction is displayed in degrees. The wind speed is displayed on the top right corner.
Vario
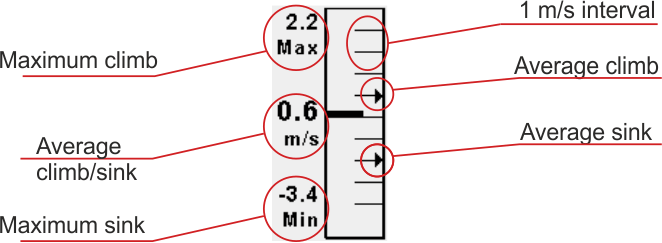
Fig. 3 Vario elements
The vario widget displays different elements related to vertical speed. The instant vertical speed is displayed as a black bar that is filling either the top (climb) or bottom (sink) part of the variometer scale. Each mark on the scale represents 1 m/s. Once a vertical speed of more than 5 m/s is achieved the bar will start to empty, starting from the middle of the scale, displaying in this way a climb or sink of up to 10 m/s.
The digital speed number on the center of the scale represents the average sink/climb speed. The averaging period can be set form the Avionics menu as can be seen here. The two values at the top and bottom of the scale represent the best climb and the worst sink of the day, as it was determined over the averaging interval.
On the right side of the scale, there are two arrows representing the average climb and the average sink of the day. The average climb is determined as the total height gained when rising with more than 0.5 m/s divided by the total time spent in the same condition. The dx of the computation is 0.2 s. This is the same for the average sink, but the threshold is -1.5 m/s in this case.
Thermal assist
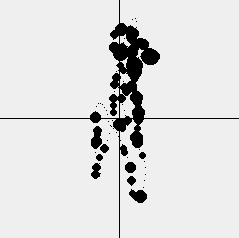
Fig. 4 Thermal asist for a ridge flight
The thermal-assist widget is an extremely simple but effective tool to help you to find the best climb or to get back to a lost thermal nearby.
It's working principle is as follows:
Your recent flight path is marked as you fly. Every time you climb, a circle with the diameter proportional to your rate of climb is drawn or if you are sinking only a small dot will be drawn.
The perspective of the path is relative to your flight direction. In other words, if you are flying towards the top of the widget the points that you have already reached will slowly move downward.
In order to offer the best perspective over the recent flight path, the widget will auto zoom in and out, to accommodate for straight flight or tight thermals.
Vario plot

Fig. 5 Vario plot widget
The vario plot widget is an effective way to get an idea of how your vertical speed is changing. It's total vertical span is 200 m with a total time base of 480 s (8 min).
Map widget
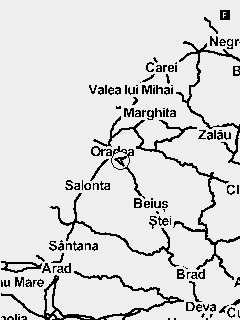
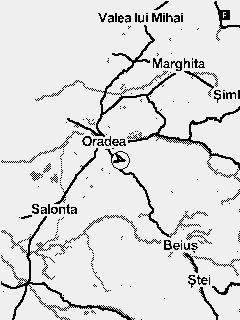
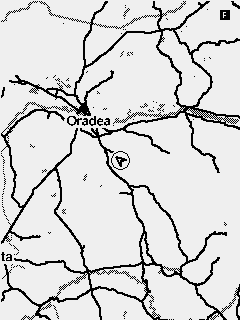
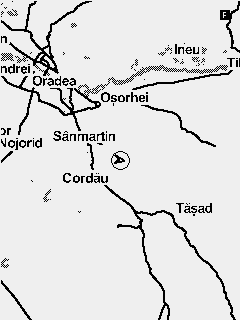
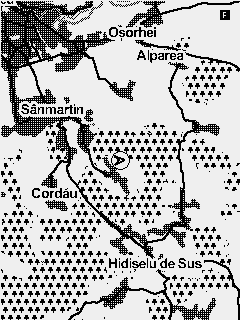
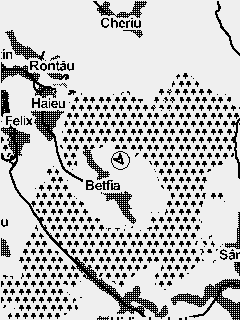
Fig. 6 Map collection with minimum to maximum zoom
The map widget is used to display prerendered maps in mbtile format. The maps are always displayed North up. The glider position and course on the map is represented by an arrow.
To select a certain map to be used you have to navigate to Menu > Navigation/Maps > Map - Current map and select the relevant map from the list.
In order to change the zoom of the map on the main screen, you have to navigate to the screen containing the widget and activate the widget Function mode by a long press of the second key. Function mode for the widget is marked by a capital letter F in the top right corner. When in function mode the Up and Down keys can be used for zoom in and zoom out.
A predefined zoom for the map can be set from the UI builder. Every time you get back to the screen containing the map the zoom will reset back to this value.
Woods are only displayed on the biggest zooms (11 and 12). If you don't want to have the woods displayed at all you can disable the function form the Navigation/maps menu.
Airspace map
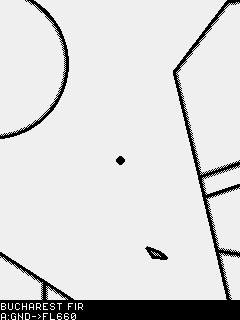
Fig. 7 Airspace map
The airspace widget is used to help the pilot navigate between restricted airspaces. The border of the airspace region is represented by a solid line doubled by a shade representing the inside part of the airspace.
Violated or otherwise relevant airspace regions are displayed at the bottom, as pairs of names and active heights. Please note that an airspace with respect to AGL will always be displayed here if you are in its horizontal area of effect.
If you are getting near an controlled airspace you will get a warning sound. Safe distances from airspaces can be set from the Navigation/Maps menu.
As with the Map widget, the airspace widget can be zoomed in and out using the function key.
Horizontal cut widget
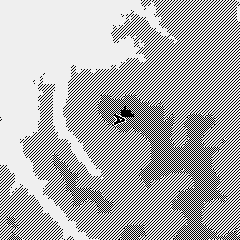
Fig. 8 Horizontal cut widget
The Horizontal cut widget is used to display elevation data in respect to your height. Black regions are the ones that sit above the pilot and greyscaled ones are corresponding to -75 meters and -150 meters. Because of the heavy computation requirement for this widget, the data will only be available a few minutes after takeoff.